Raspberry Pi has revolutionized the tech world, offering endless possibilities for makers and DIY enthusiasts. With its affordability and versatility, this tiny computer has opened up a world of creativity and innovation. In this post, we’ll explore some clever Raspberry Pi projects that can be created with just a few extra bits and pieces.
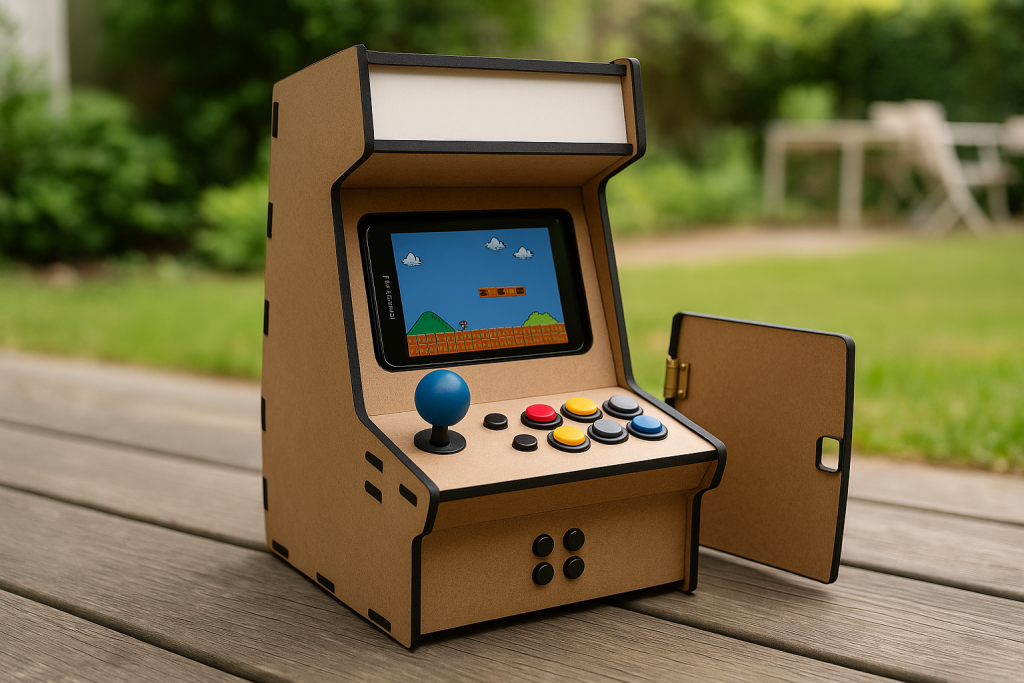
Retro Gaming Console
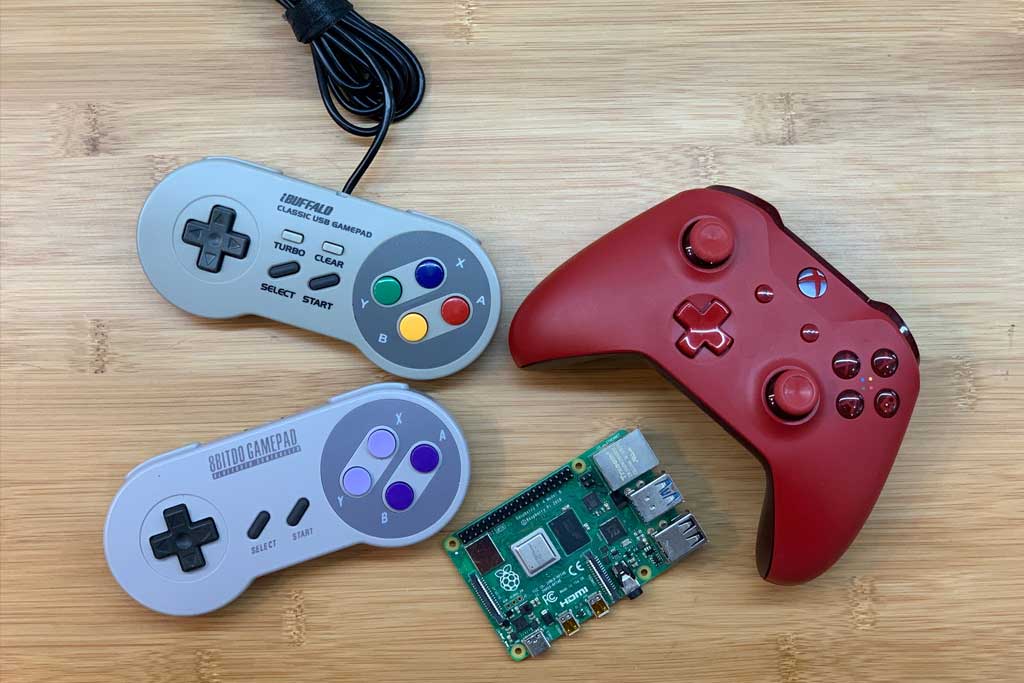
To create a retro gaming console, you’ll need a Raspberry Pi (model 3 or 4 recommended), a microSD card (16 GB or more), a power supply, an HDMI cable, a USB controller, and a case for protection. The cost for these components, excluding the Raspberry Pi itself, should be around $30-$50.
Start by downloading and installing the RetroPie software on your microSD card. Once installed, insert the microSD card into your Raspberry Pi, connect your USB controller, and hook up your HDMI cable to your TV. Power up your Raspberry Pi, configure your controller, and you’re ready to start gaming. Add game ROMs to the system by either downloading them directly or transferring them from a USB stick.
Home Automation System
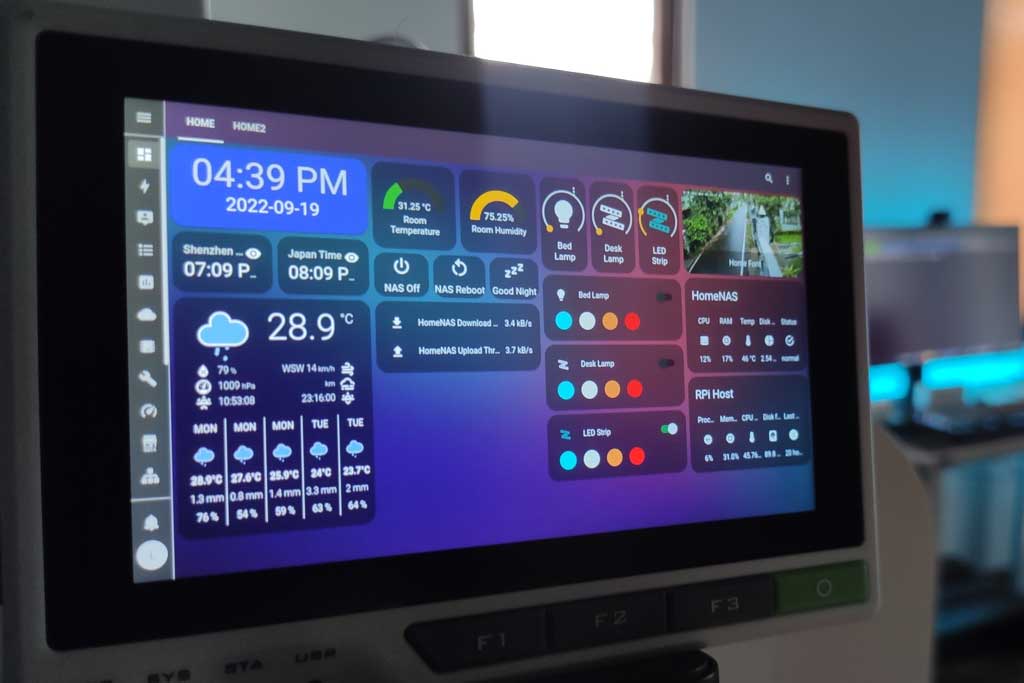
One useful Raspberry Pi project is a home automation system to control your smart devices. This project requires a Raspberry Pi (any model), a microSD card (8 GB or more), a power supply, and compatible smart home devices (such as smart plugs, light bulbs, or thermostats). The cost of these components, excluding the Raspberry Pi and smart home devices, should be around $15-$25.
Begin by installing a home automation platform, like Home Assistant or OpenHAB, on your microSD card. After setting up the software, configure it to work with your smart home devices by following the platform’s documentation. Once connected, you can control your devices through the platform’s web interface or mobile app.
Media Center
To set up a Raspberry Pi media center, you’ll need a Raspberry Pi (model 3 or 4 recommended), a microSD card (16 GB or more), a power supply, an HDMI cable, a case, and optionally, a USB remote control or keyboard. The cost for these components, excluding the Raspberry Pi, should be around $30-$50.
First, download and install a media center software like Kodi or Plex on your microSD card. Once the software is installed, insert the microSD card into your Raspberry Pi, connect the HDMI cable to your TV, and power up the device. Configure your media center by adding your video, music, and image libraries. You can now stream your media to your TV or other devices on your home network.
Weather Station
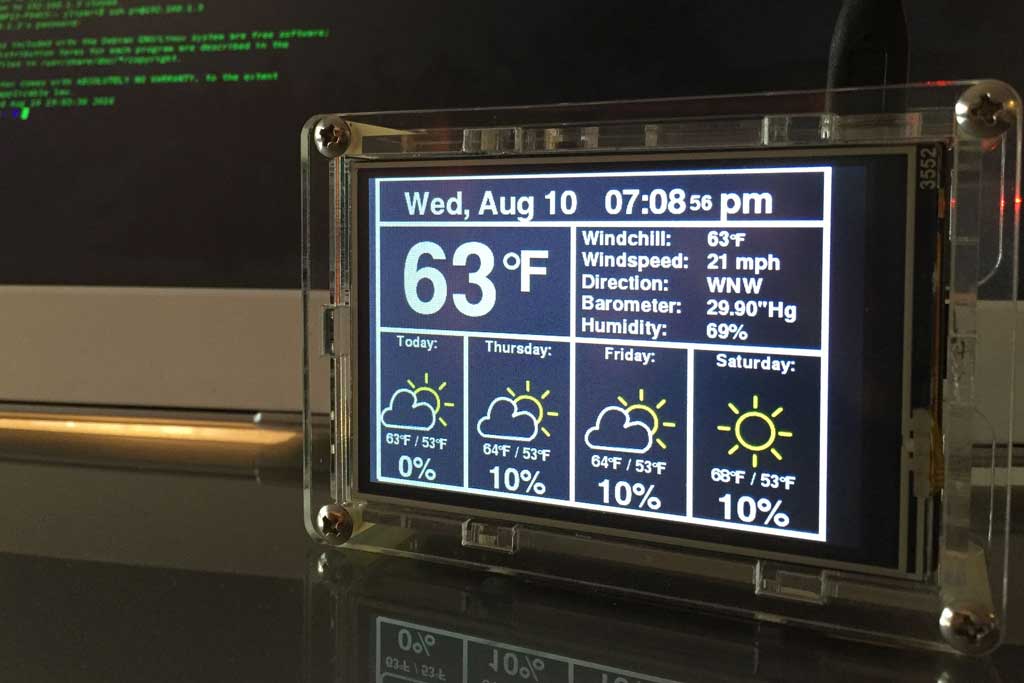
Another clever Raspberry Pi project is a digital weather station. This project requires a Raspberry Pi (any model), a microSD card (8 GB or more), a power supply, a case, and weather sensors like a temperature, humidity, and barometric pressure sensor. The cost of these components, excluding the Raspberry Pi and sensors, should be around $15-$25. Sensors’ prices vary based on their features and accuracy.
Begin by connecting the weather sensors to your Raspberry Pi using GPIO pins or I2C/SPI interfaces, depending on the sensors you’ve chosen. Install the necessary software and libraries to read data from the sensors. Create a web-based dashboard using software like Grafana or Node-RED to display the weather data. Optionally, you can use a weather API to compare your data with local weather stations.
NAS (Network Attached Storage)
Creating a NAS server requires a Raspberry Pi (model 3 or 4 recommended), a microSD card (8 GB or more), a power supply, a case, and one or more external hard drives (USB 3.0 preferred). The cost of these components, excluding the Raspberry Pi and hard drives, should be around $15-$25.
Start by installing a NAS software like OpenMediaVault or Samba on your microSD card. Connect your external hard drives to the Raspberry Pi, and configure the software to recognize them. Set up user accounts, shared folders, and access permissions. Once configured, your NAS server will be accessible across your home network for file storage and sharing.
Magic Mirror
To create a magic mirror, you’ll need a Raspberry Pi (any model), a microSD card (8 GB or more), a power supply, a monitor with HDMI input, a two-way mirror, a case or frame for the mirror, and some basic tools. The cost of these components, excluding the Raspberry Pi, monitor, and two-way mirror, should be around $15-$25.
Begin by installing the MagicMirror² software on your microSD card. Configure the software by customizing the display modules, such as time, weather, and calendar. Connect the monitor to your Raspberry Pi using an HDMI cable, and mount the two-way mirror on the monitor. Finally, build a frame or case to enclose the monitor and Raspberry Pi, ensuring that the mirror is securely in place.
Security Camera
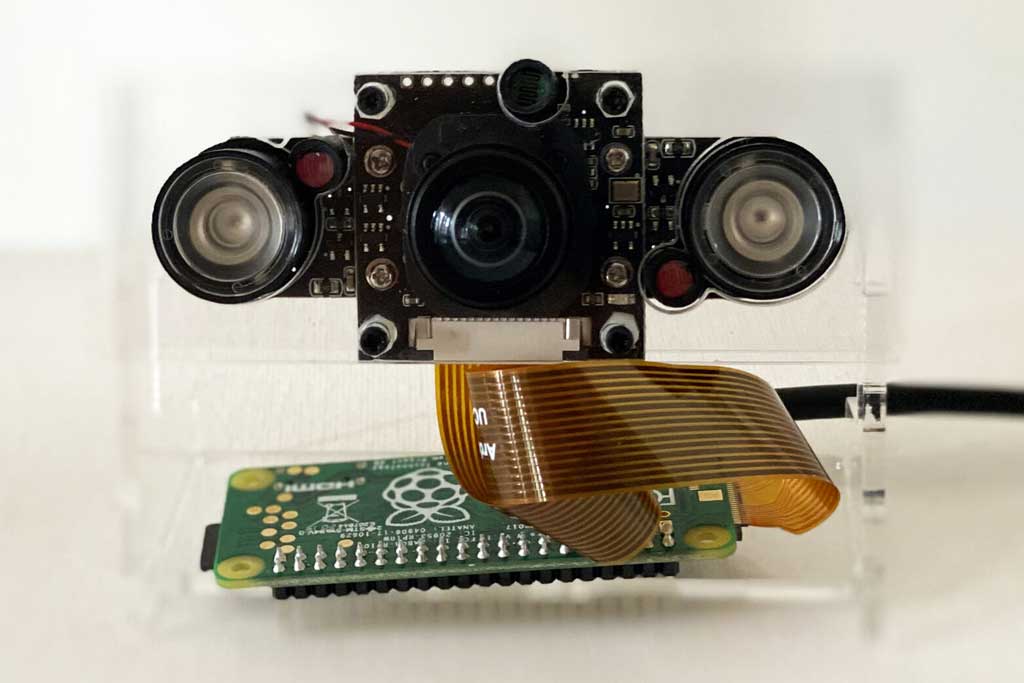
Building a security camera requires a Raspberry Pi (any model), a microSD card (8 GB or more), a power supply, a case, and a camera module (the official Raspberry Pi Camera Module or a compatible USB webcam). The cost of these components, excluding the Raspberry Pi and camera module, should be around $15-$25.
Start by installing MotionEyeOS or a similar motion detection software on your microSD card. Connect the camera module to your Raspberry Pi and power it up. Configure the software to recognize the camera and adjust settings like resolution, frame rate, and motion sensitivity. Once configured, the camera will record videos or capture images upon detecting motion, and you can monitor the footage remotely.
VPN Server
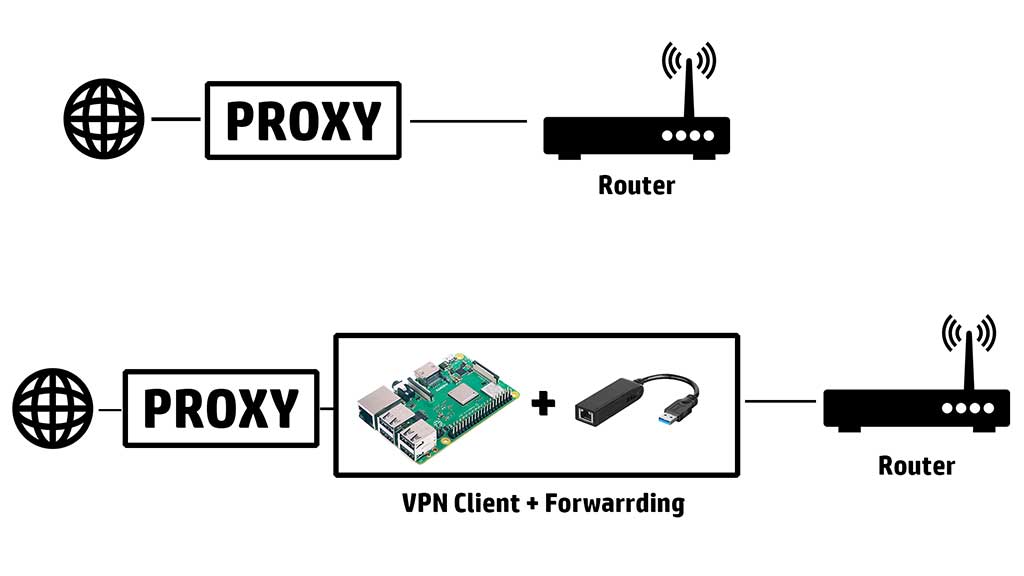
Setting up a VPN server requires a Raspberry Pi (any model), a microSD card (8 GB or more), a power supply, and a case. The cost of these components, excluding the Raspberry Pi, should be around $15-$25.
First, install a VPN server software like OpenVPN or WireGuard on your microSD card. Configure the software by generating encryption keys and setting up user accounts. Optionally, set up a dynamic DNS service to make it easier to access your VPN server remotely. Once configured, you can connect to your VPN server using a VPN client on your devices to securely access the internet and your home network.
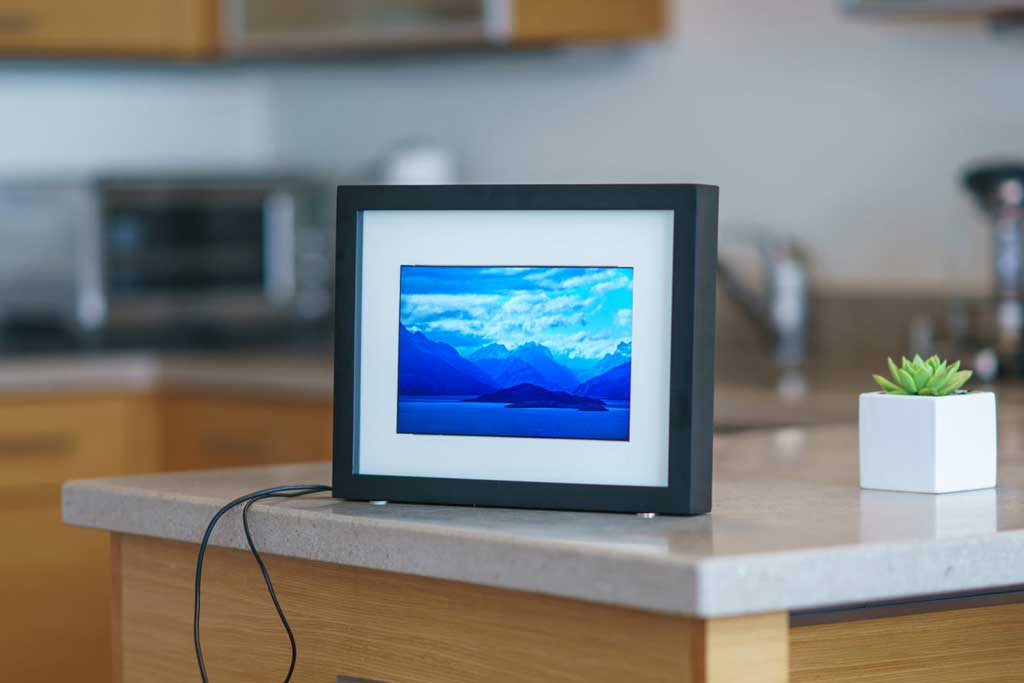
Digital Photo Frame
To create a digital photo frame, you’ll need a Raspberry Pi (any model), a microSD card (8 GB or more), a power supply, a monitor with HDMI input, a case or frame for the monitor, and some basic tools. The cost of these components, excluding the Raspberry Pi and monitor, should be around $15-$25.
Begin by installing a photo slideshow software, such as DakBoard or Pi3D, on your microSD card. Configure the software to display images from local storage or cloud-based albums, and customize the display settings. Connect the monitor to your Raspberry Pi using an HDMI cable, and build a frame or case to enclose the monitor and Raspberry Pi.
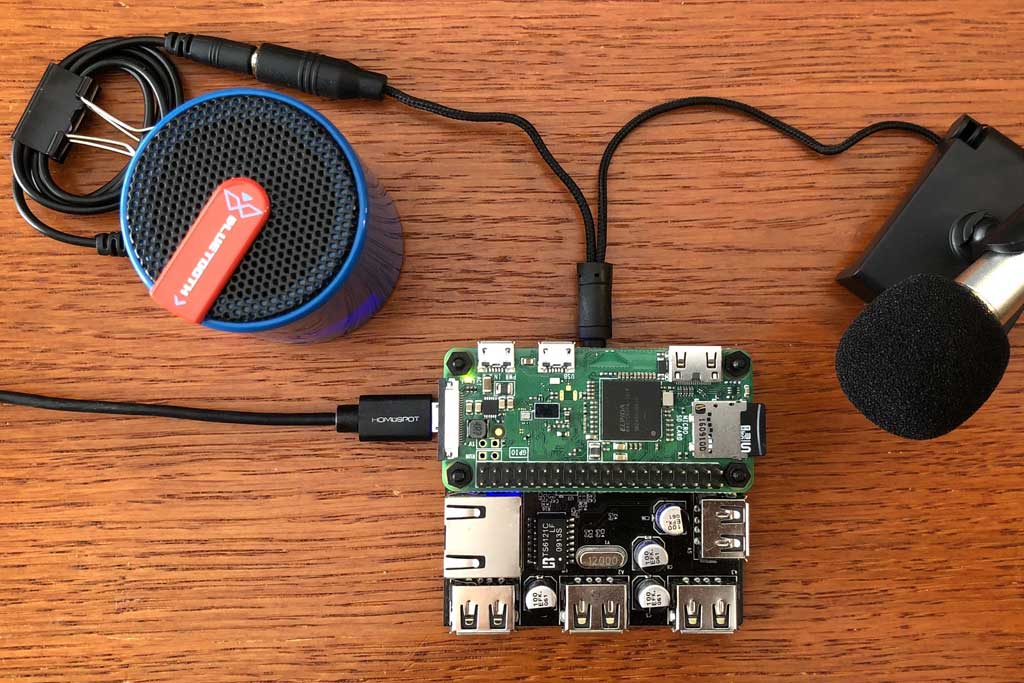
Voice Assistant
Building a voice assistant involves a Raspberry Pi (any model), a microSD card (8 GB or more), a power supply, a case, a speaker, a microphone, and an optional button or switch for activation. The cost of these components, excluding the Raspberry Pi, speaker, and microphone, should be around $15-$25.
Start by installing an open-source voice assistant software, such as Mycroft or the Google Assistant SDK, on your microSD card. Connect the speaker and microphone to your Raspberry Pi, and configure the software to recognize your audio devices. Customize the functionality of your voice assistant by adding new skills or integrations, and set up a trigger mechanism, such as a button or voice activation.
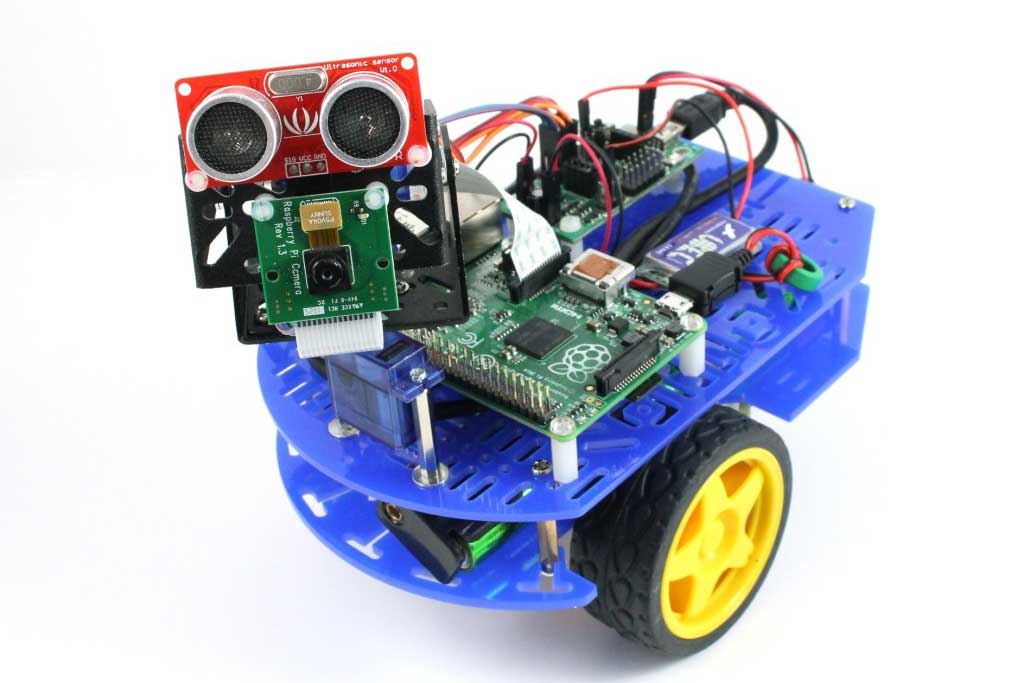
Robotics
Creating a robotic project requires a Raspberry Pi (any model), a microSD card (8 GB or more), a power supply, a case, motors, sensors, a motor driver or controller, and a chassis or frame. The cost of these components, excluding the Raspberry Pi, motors, and sensors, should be around $15-$25. The price of motors and sensors can vary based on their specifications.
Begin by connecting the motors and sensors to your Raspberry Pi using GPIO pins or I2C/SPI interfaces. Install the necessary software and libraries to control the motors and read data from the sensors. Program the robot’s logic and behavior using Python or another programming language. Assemble the chassis or frame to house the Raspberry Pi, motors, and sensors, and test your robot’s functionality.
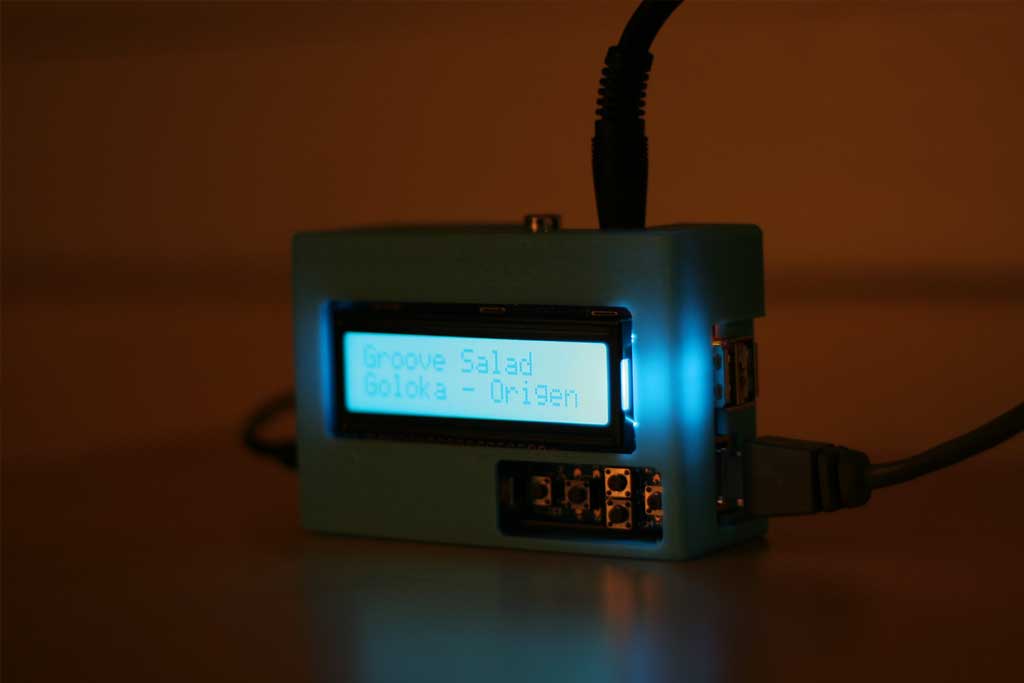
Internet Radio
To set up an internet radio, you’ll need a Raspberry Pi (any model), a microSD card (8 GB or more), a power supply, a case, speakers, and a USB sound card (optional, for better audio quality). The cost of these components, excluding the Raspberry Pi, speakers, and sound card, should be around $15-$25.
Start by installing an internet radio software like Mopidy on your microSD card. Connect the speakers to your Raspberry Pi using the built-in audio jack or a USB sound card. Configure the software to stream online radio stations or your own music library. Once set up, you can control the playback and volume using a web interface or mobile app.
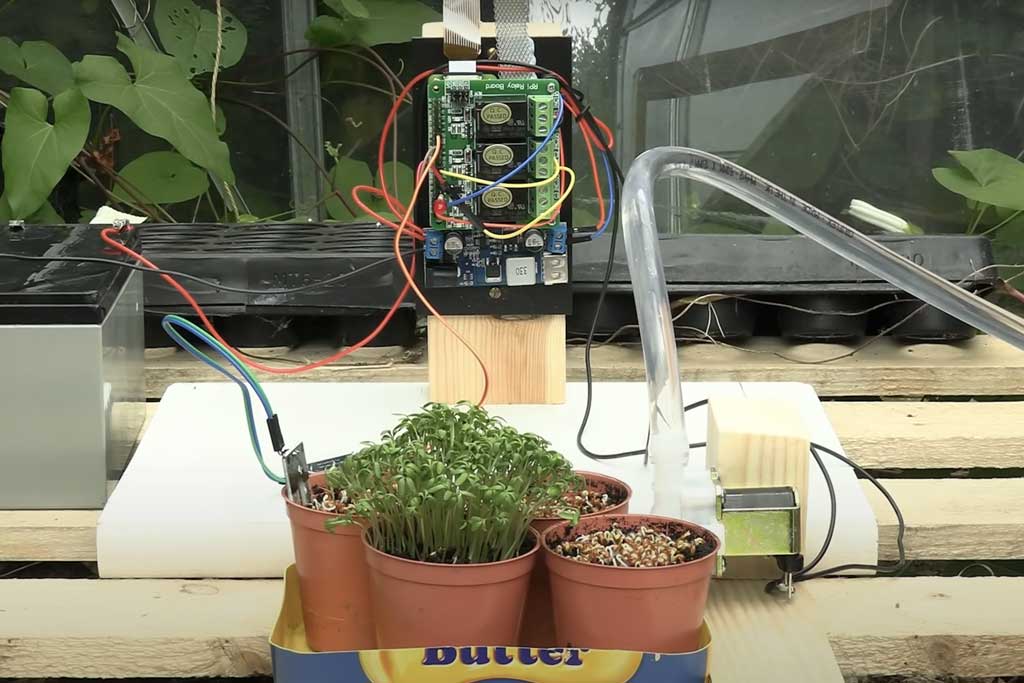
Smart Garden
One of our favorite Raspberry Pi Projects is a smart garden. This requires a Raspberry Pi (any model), a microSD card (8 GB or more), a power supply, a case, soil moisture sensors, water valves or pumps, and optionally, grow lights. The cost of these components, excluding the Raspberry Pi, sensors, valves, and lights, should be around $15-$25. The price of sensors, valves, and lights varies based on their features and quality.
Begin by connecting the soil moisture sensors, water valves or pumps, and grow lights (if applicable) to your Raspberry Pi. Install the necessary software and libraries to read data from the sensors and control the valves, pumps, and lights. Create a control program in Python or another programming language to automate your garden based on sensor data, such as watering plants when soil moisture is low. Optionally, set up a web-based dashboard to monitor and control your garden remotely.
Network Monitor
A useful Raspberry Pi project is to create a network monitor for your home Wi-Fi setup. This requires a Raspberry Pi (any model), a microSD card (8 GB or more), a power supply, a case, and an Ethernet cable. The cost of these components, excluding the Raspberry Pi, should be around $15-$25.
Start by installing a network monitoring software like Nagios or Zabbix on your microSD card. Connect your Raspberry Pi to your home network using an Ethernet cable. Configure the software to monitor the devices on your network, and set up alerts for potential issues. Use the software’s web interface or mobile app to visualize and analyze network traffic in real-time, helping you identify and troubleshoot problems.
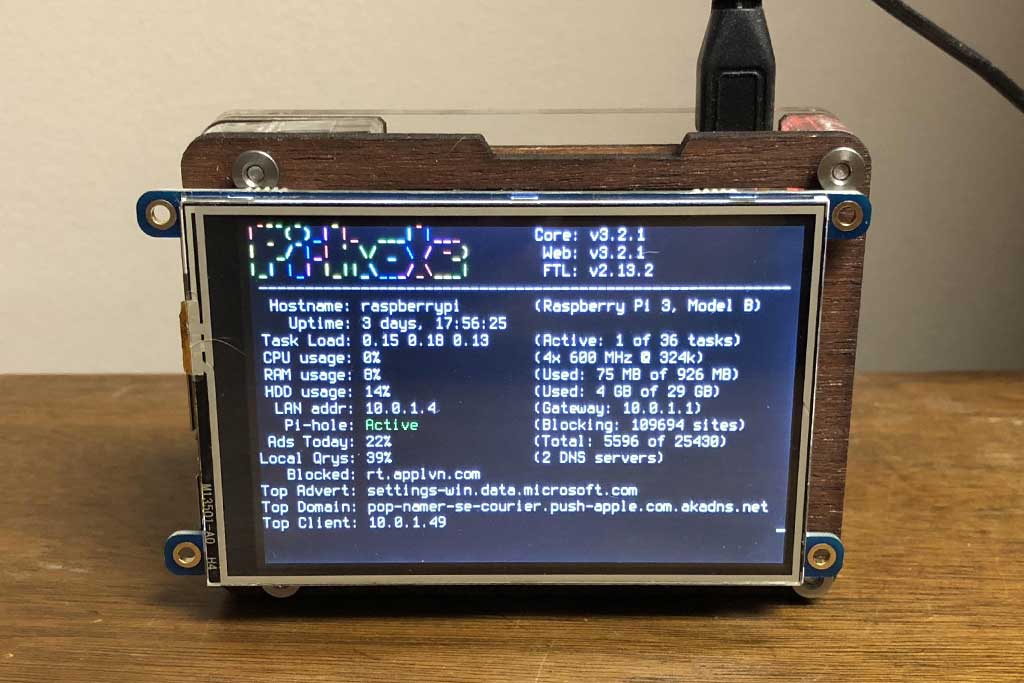
Ad Blocker
Creating a network-wide ad blocker requires a Raspberry Pi (any model), a microSD card (8 GB or more), a power supply, a case, and an Ethernet cable. The cost of these components, excluding the Raspberry Pi, should be around $15-$25.
Begin by installing Pi-hole on your microSD card. Connect your Raspberry Pi to your home network using an Ethernet cable, and configure Pi-hole to act as your network’s DNS server. Once set up, Pi-hole will intercept and block ads before they reach your devices, resulting in a cleaner browsing experience.